Focus first on what buyers see in photos and at the front door: the main elevation, entry, garage door and the largest living spaces. Fix the stains, peeling and rot an inspector will note, choose soft neutral colors, and finish painting a few days before photos so the house can be cleaned and staged.
Start where buyers look first
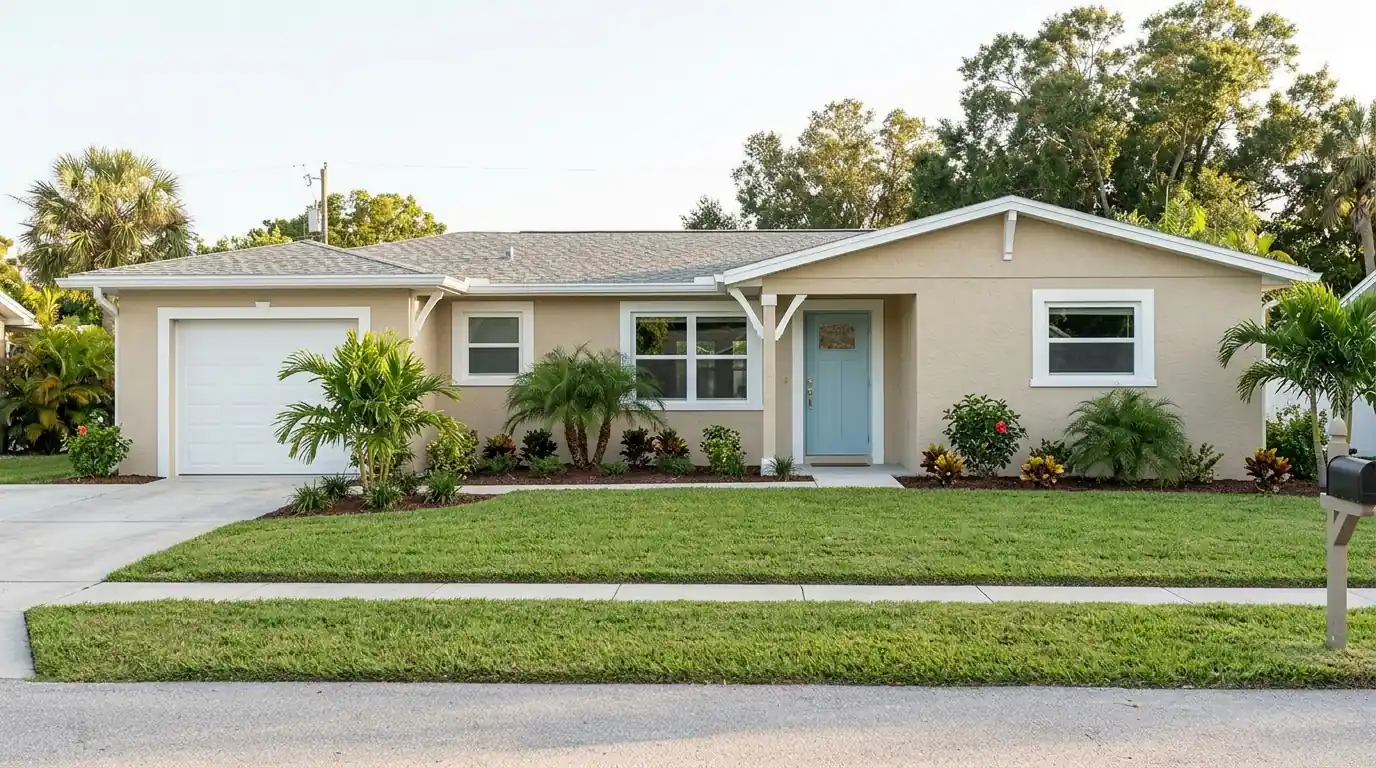
Most buyers meet your house as a small photo on a phone, and the first image is almost always the front of the home. A faded front elevation, a weathered garage door or a peeling entry looks worse in a thumbnail than it does in person, because the photo flattens everything into color and contrast. Repainting the street-facing side, the front door, the garage door and the trim around them often does more for first impressions than any project inside.
If the rest of the exterior is in fair shape, a full repaint may not be needed. A careful pressure wash can bring back a surprising amount of color on stucco that is merely dirty, and fresh paint on the entry and trim then makes the whole front look cared for. When the paint is chalking heavily, peeling or visibly faded on every side, though, a full exterior is usually the smarter choice, since buyers notice uneven walls on the drive in.
- Front elevation and entry walls
- Front door and the trim around it
- Garage door, which fills much of the front photo
- Mailbox post, shutters and any visible railings
Interior rooms that make the biggest difference
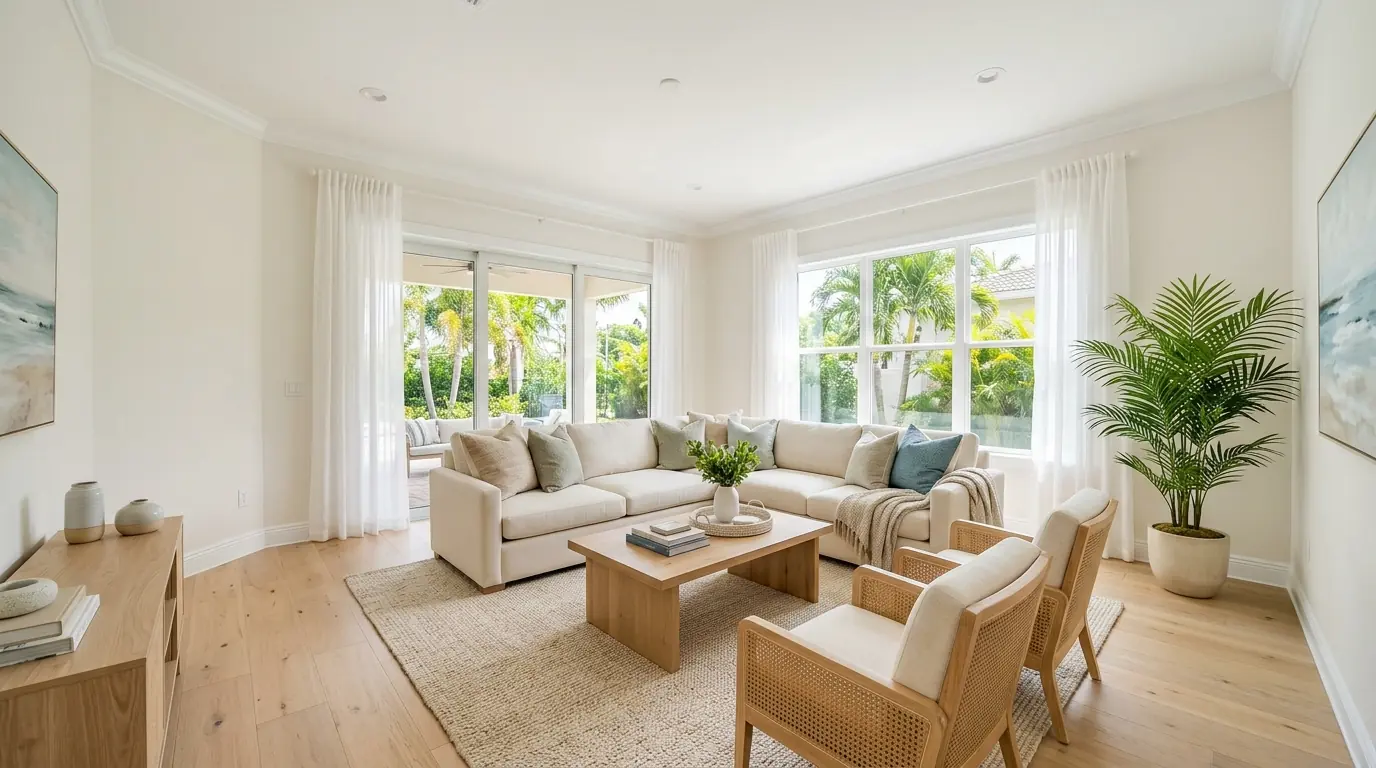
Inside, the rooms in the most listing photos deserve the most attention: the main living area, the kitchen, the primary bedroom and the primary bathroom. Scuffed walls, mismatched touch-up patches and grimy trim all show up in wide shots under bright Florida light pouring through sliders. A fresh coat in these spaces makes the house look newer and better maintained, which is exactly the message a buyer is looking for during a fifteen minute showing.
Bold choices made for personal taste are worth reconsidering. A deep red dining room, a bright playroom or a dark accent wall can all distract buyers who are trying to picture their own furniture in the space. Ceilings with old water stains deserve special care. Fix the source first, then seal the stain with a stain-blocking primer before the ceiling paint, because a stain that bleeds back through fresh paint raises more questions than the original mark did.
Neutral colors that still feel like Florida
Neutral does not have to mean cold. In Sarasota's bright, warm light, stark blue-whites can read sterile and a little harsh in photos, while very gray walls can turn flat and dull on cloudy days. Warm whites, soft sand tones, light greige and pale gray-greens tend to photograph well and suit the coastal setting most buyers came here for. Keeping one wall color through the main living spaces makes the house feel larger and calmer as buyers walk through it.
Trim and ceilings work best in a single clean white across the house, which ties rooms together and looks crisp in pictures. On the exterior, check whether your HOA requires approval for any color change. Repainting in the existing approved color often avoids that step entirely, which matters when you are trying to list on a deadline. If you want help choosing, test large samples on the actual walls, since small chips look very different in strong window light.
- Warm whites and soft sand tones for main living spaces
- Pale gray-green or light greige in bedrooms
- One crisp white for all trim and ceilings
- Existing approved colors outside to avoid HOA delays
What you can usually skip
Not every surface earns a spot on the pre-listing list. Closets, the inside of the garage and rooms that were painted recently and still look clean can usually be left alone. The same goes for an exterior that has been painted within the last few years and only needs a wash. Money and time spent there rarely change how buyers see the home, and both are better used on repairs that might otherwise show up in an inspection report.
Avoid starting anything you cannot finish before photos. A half-painted hallway or a wall with sample patches still on it looks worse than the old paint did. Large color experiments, faux finishes and fresh accent walls are also best left to the next owner. The goal is a clean, consistent, cared-for house, not a design statement. Buyers will make their own color choices after closing, and a calm base helps them imagine that. A tidy, finished house also tells buyers the bigger things were looked after too.
Timing the paint around listing photos
Work backward from the photo date. Repairs to drywall, wood rot and stucco cracks come first, then painting, then a few days for the paint to cure and the smell to clear. After that comes deep cleaning, staging and finally the photographer. Squeezing paint into the day before photos risks wet walls, smudged trim and furniture pushed back too soon. Leaving a small cushion also covers a summer storm that pushes exterior work back a day.
Ask for a small labeled touch-up kit of the colors used, because showings bring scuffs from furniture moves and staging. If the house is vacant, painting goes faster since crews can work room to room without moving belongings, and that can shorten the schedule considerably. Occupied homes need a little more planning so daily life and showings can continue while each room is finished. Let our crew know about any showings already booked, and we will plan rooms around them so a buyer never walks into wet paint or a hallway full of ladders.
- Repairs to drywall, rot and stucco cracks first
- Painting next, with a few days to cure
- Cleaning and staging after the paint has set
- Listing photos last, with a small cushion for weather
Working with your agent and our crew
Your listing agent sees what buyers react to in your price range and neighborhood, so their punch list is a good starting point. We often walk a house with that list in hand and help sort it into what truly needs paint, what needs a repair first, and what can wait. Inspectors tend to flag peeling paint, soft wood at door frames and fascia, and open stucco cracks, so addressing those before listing can prevent awkward conversations later.
We set up a walk-through by phone appointment, look at every room and elevation on the list, and give you a clear scope and schedule built around your listing date. If you have already moved away, we can coordinate with your agent for access and send photos as rooms are finished. The aim is simple: a house that looks fresh, photographs well and gives buyers fewer reasons to hesitate. Where a repair needs another trade, such as a roofer for a leak, we will say so plainly.